Explanation
Project sharing within Mindgard lets you collaborate with teammates that test similar targets, review test results, and apply remediation advice to better defend your products. Sharing is configured using Mindgard’s web user interface.Role Definitions
Project Owner: The user that created a given project. The owner may not be changed and cannot be removed from the project by a Project Admin. Project Members: Users that can view results and execute new tests. Project Admins: Admins can perform tests and view results as well as add, edit permissions, or remove users from the project. Note that an admin may not demote their role or delete their own user from the project.How to manage project sharing
Navigate to the project you wish to manage by clicking Projects in the left navigation pane and then clicking anywhere in the row of the project to bring up its dedicated page.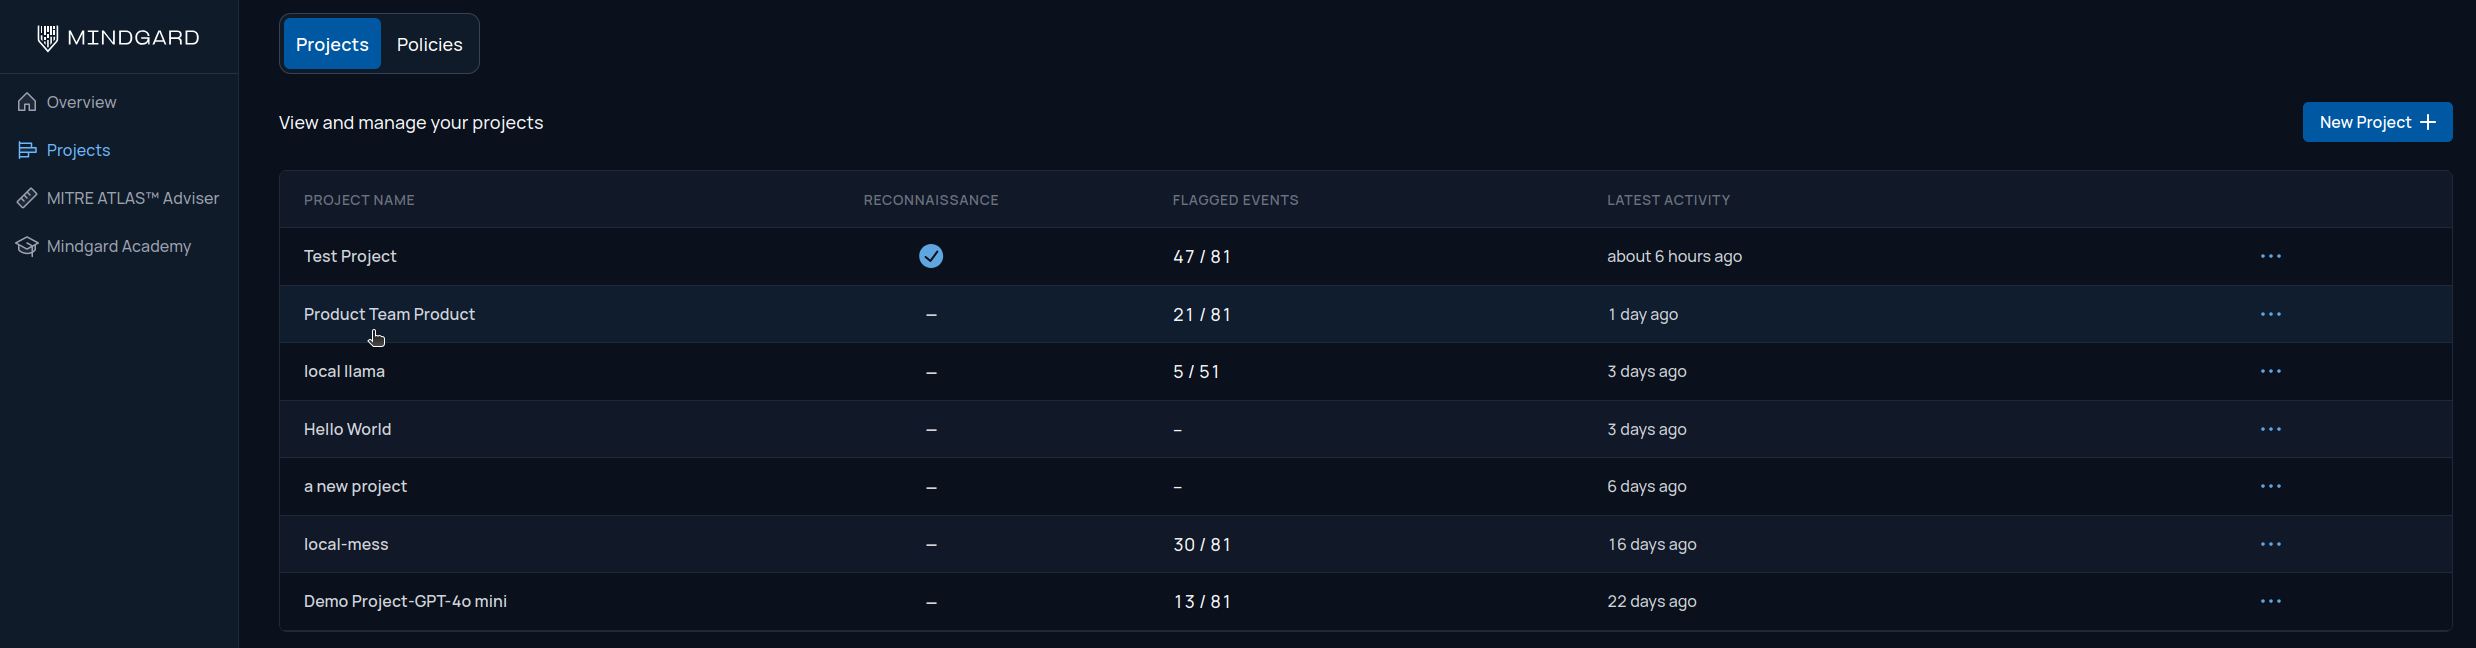
Management Actions
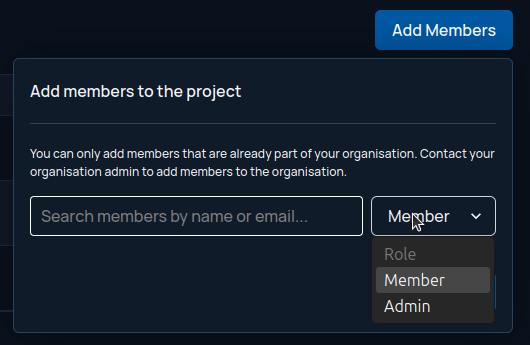
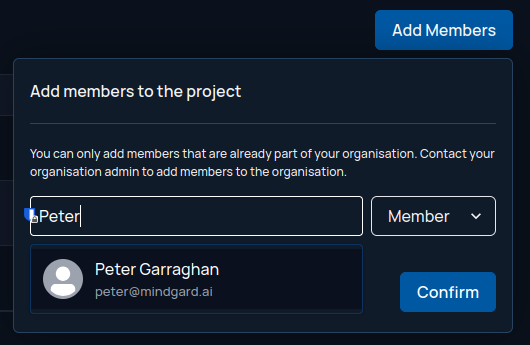
Adding members
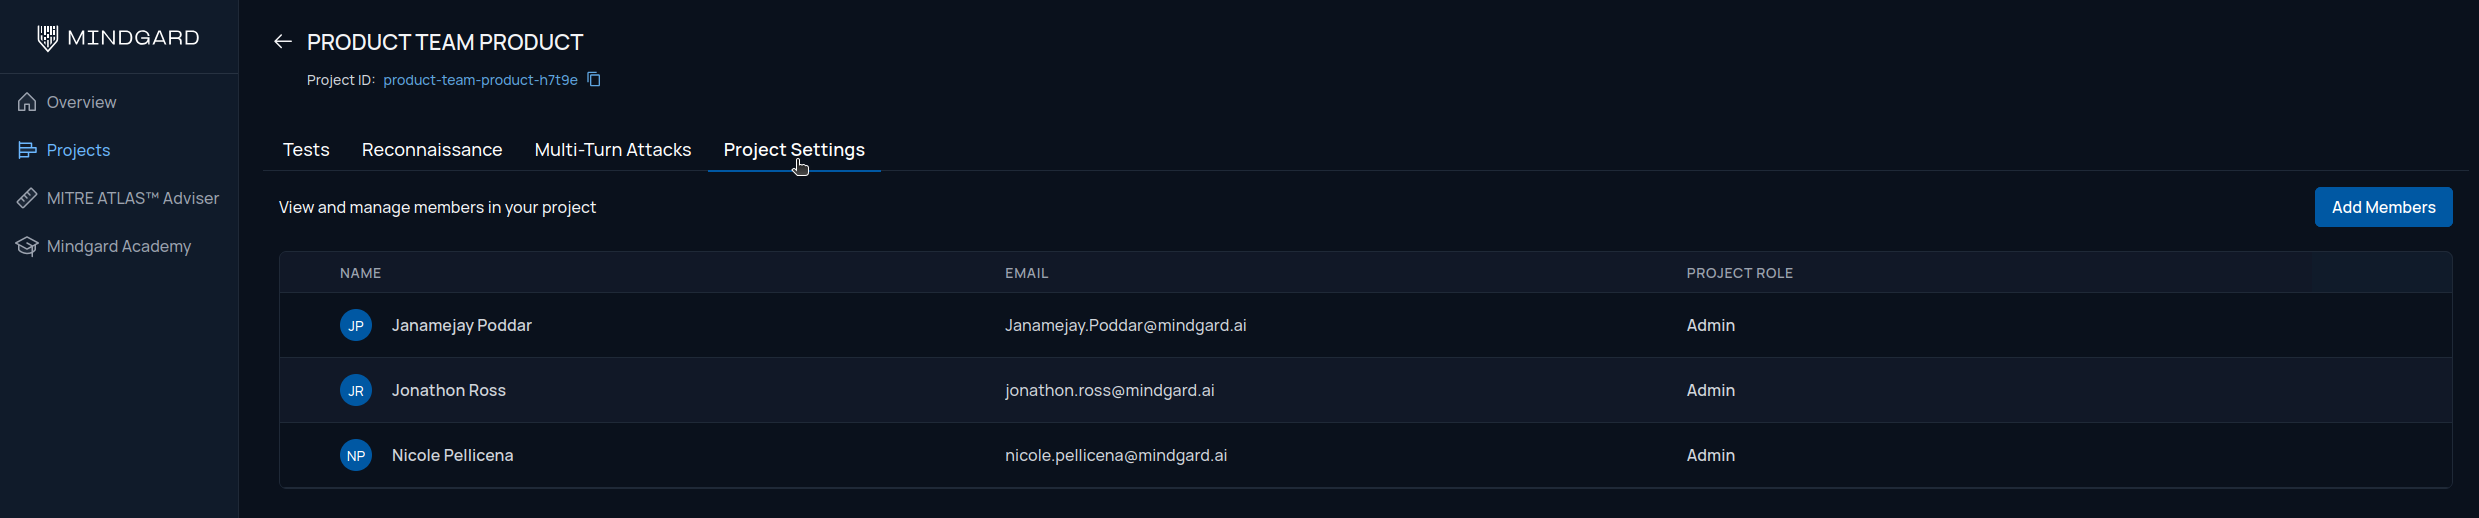
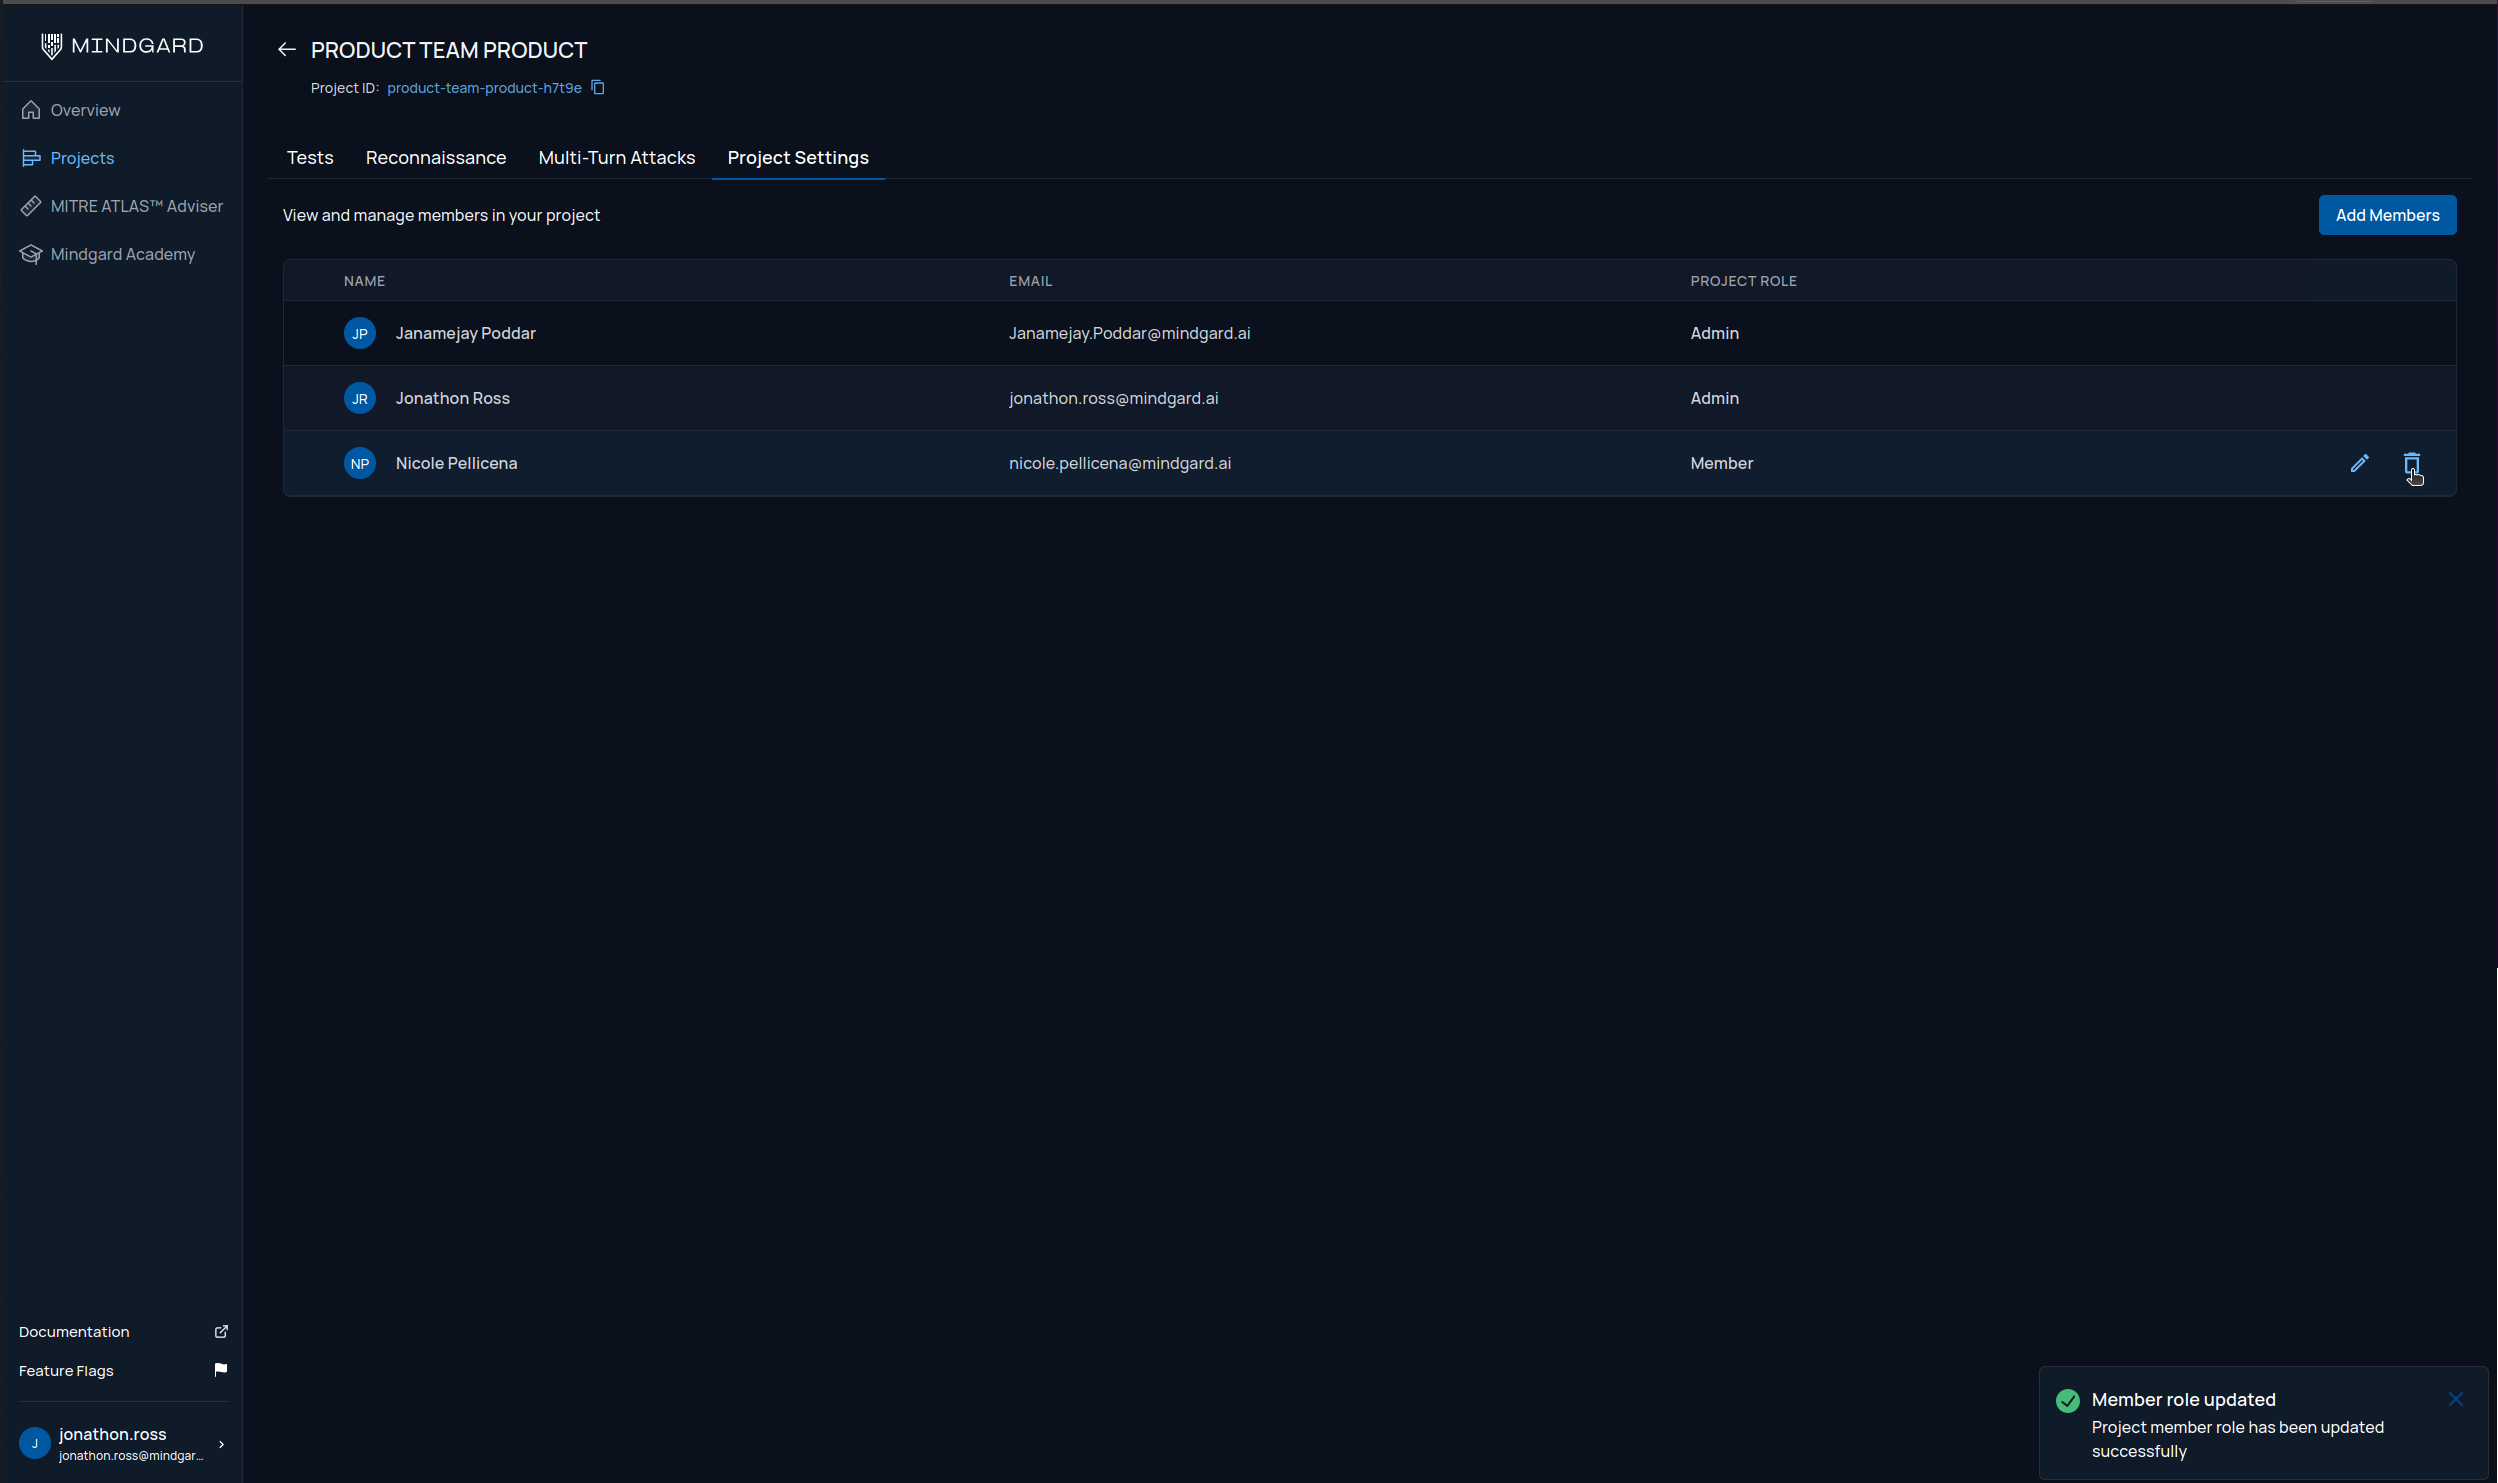
To add users to your project click the Add Members button above the member list on the right side of the page.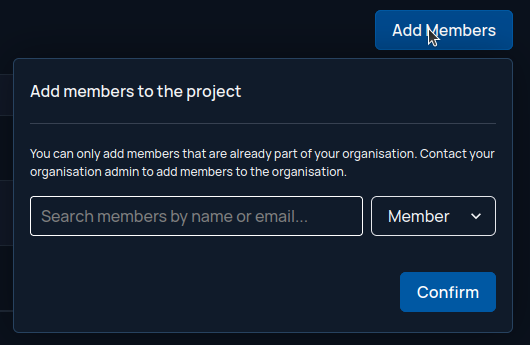
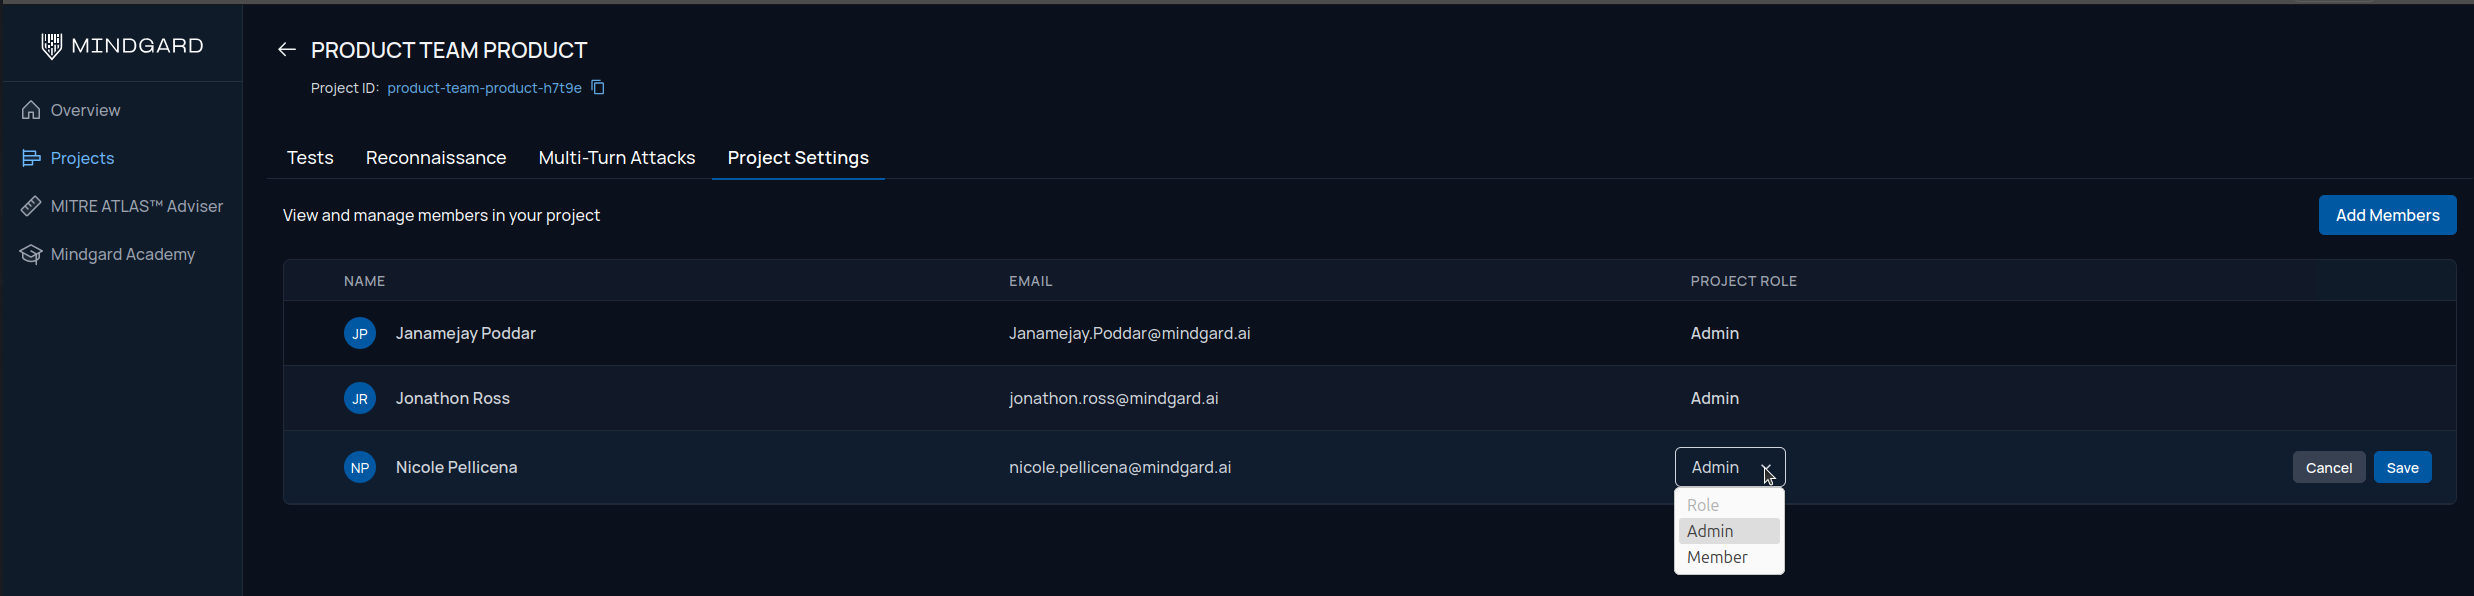
Editing permissions
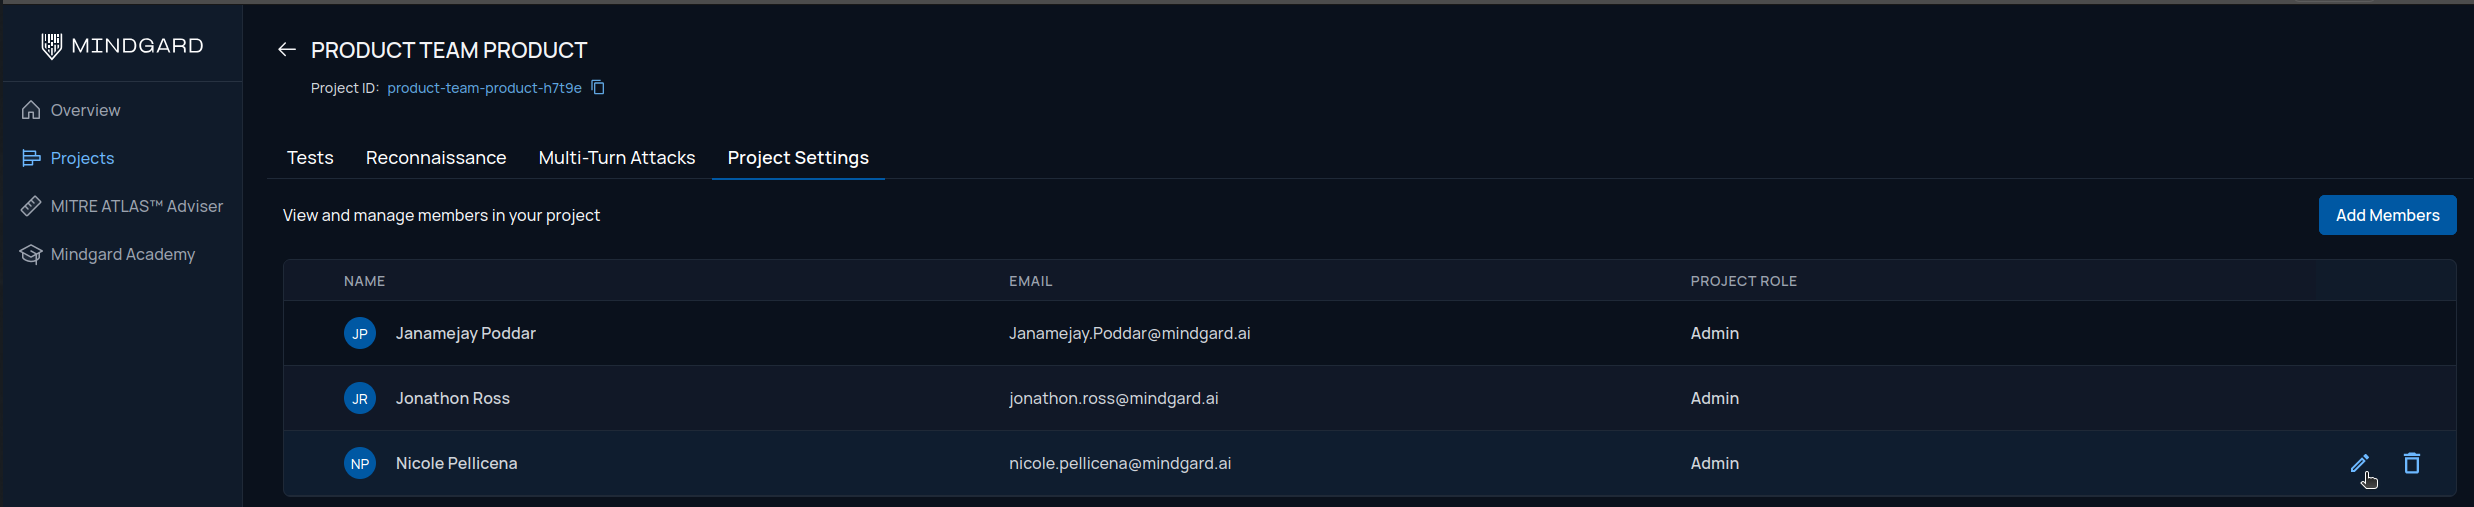
From the Project Settings page hove your mouse anywhere in the row of the user you wish to edit. A pencil and trash can icon will appear on the right of this row.
Removing a member
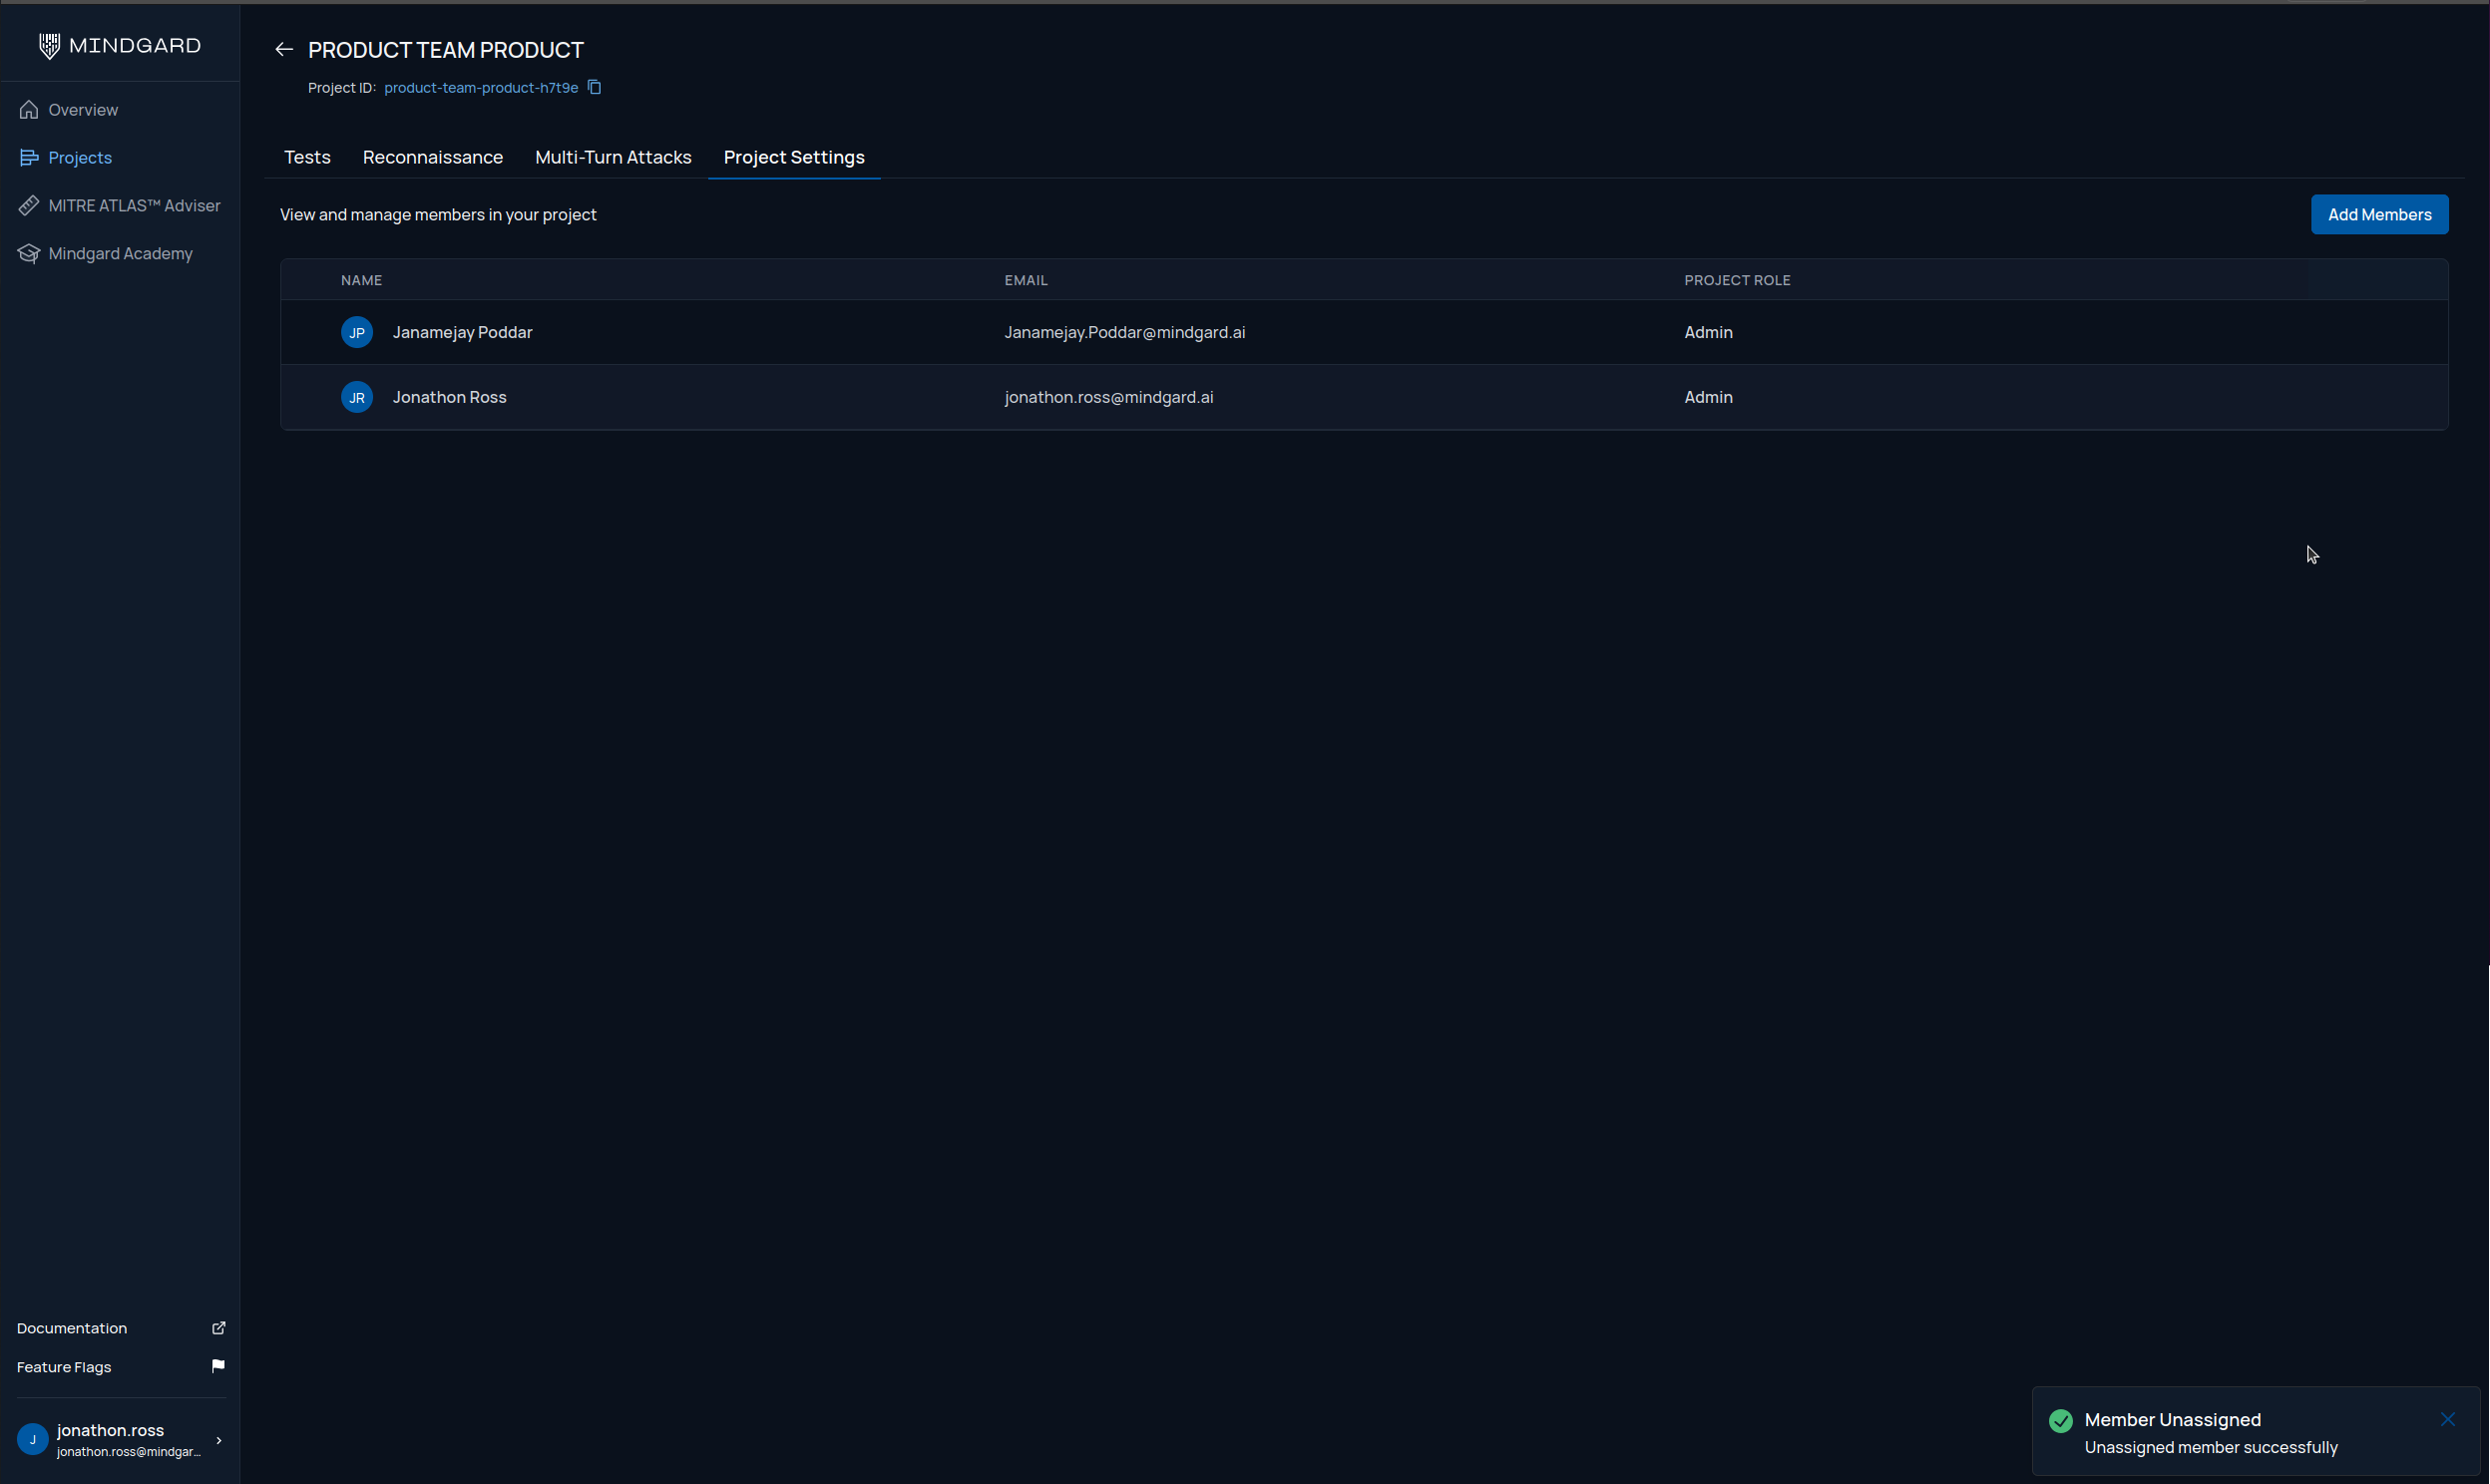
From the Project Settings page hove your mouse anywhere in the row of the user you wish to delete. A pencil and trash can icon will appear on the right of this row. Click the trash can icon to bring up a confirmation dialog.